Rainscreen cladding systems are a key part of modern architecture that protects and insulates buildings and also enhances their appearance.
Let’s take a closer look at how rainscreen cladding works, the variety of materials it can be made from, and the benefits it brings.
Understanding Rainscreen Cladding Systems
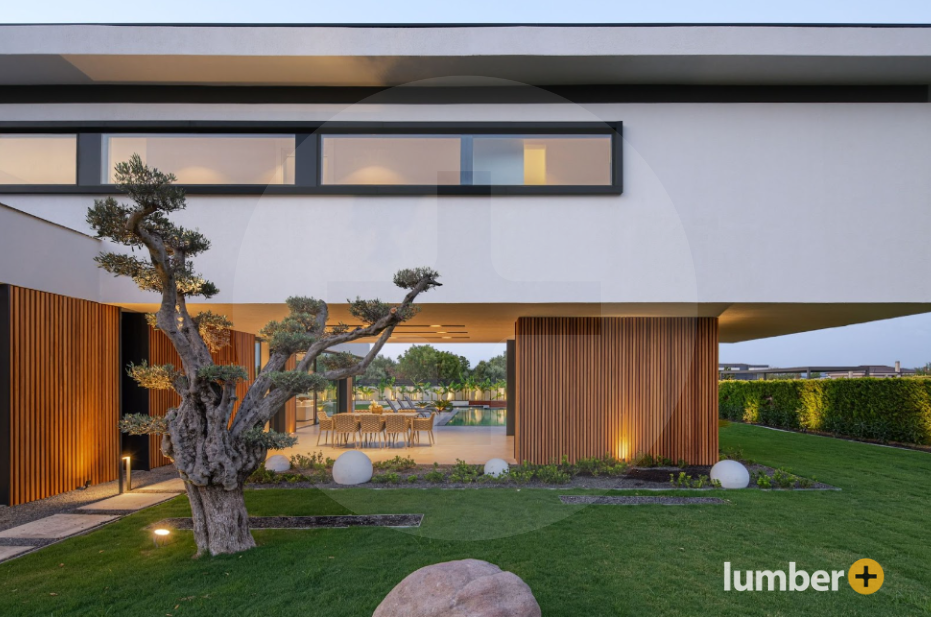
Rainscreen cladding functions as a protective layer for buildings and is designed to prevent moisture penetration while also managing internal climates. The system typically consists of an outer cladding barrier, an air cavity for moisture evacuation, thermal insulation, and water-resistant barriers. This system shields the building from moisture and enhances its thermal performance, which makes it crucial for energy conservation.
Components of Rainscreen Systems
The effectiveness of a rainscreen cladding system lies in its layered approach:
- Outer Cladding: Acts as the first line of defense against weather elements
- Air Cavity: Set up by the use of custom clips, it allows for continuous air movement by facilitating moisture evaporation and temperature regulation
- Insulation: Positioned behind the cladding to reduce thermal transfer
- Moisture Barriers: Protects the internal wall from any infiltrating water
These components collectively ensure that any moisture that penetrates the outer cladding is quickly drained away or evaporated to significantly reduce the risk of water damage to the building structure.
Popular Rainscreen Cladding Materials and Their Advantages and Disadvantages
Rainscreen cladding is available in a variety of materials, each with its unique advantages and aesthetic appeal, suitable for different architectural needs.
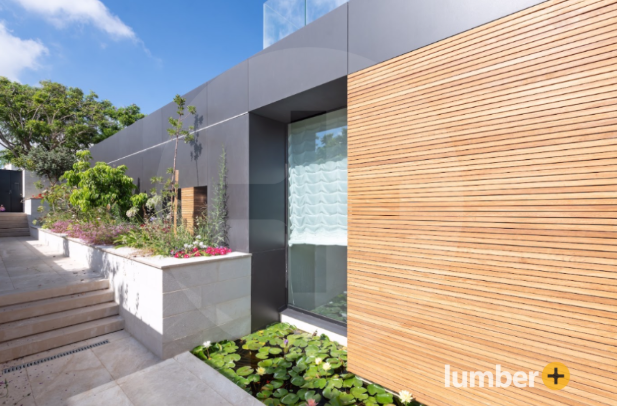
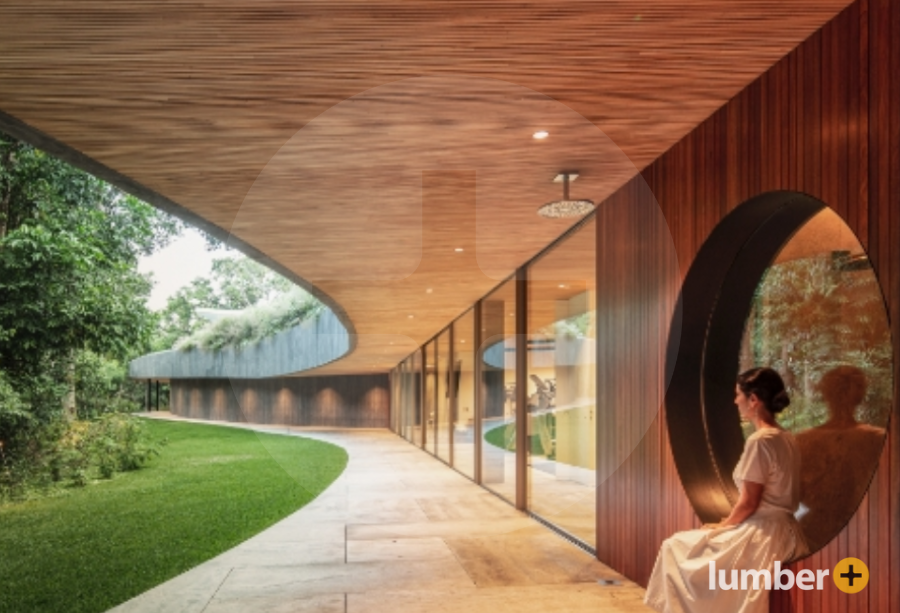
Thermowood® Cladding
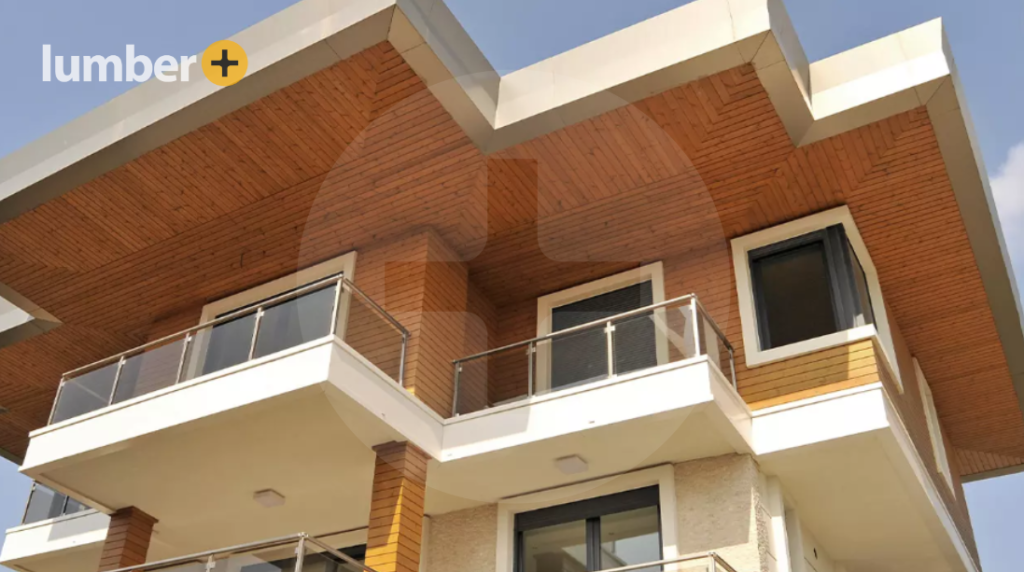
Thermowood®, a sustainably processed wood, undergoes heat treatment that enhances its resistance to moisture, rot, and fungal decay and also stabilizes the wood for use in various climates. This treatment process gives Thermowood® its distinctive durability and a natural, warm aesthetic that makes it an excellent choice for functional yet elegant building exteriors.
Advantages
- Durability and Resistance: Highly resistant to rot, moisture, and fungal decay
- Environmental Sustainability: Made from sustainably sourced wood to help reduce the environmental impact
- Aesthetic Appeal: Natural appearance enhances building aesthetics
Disadvantages
- Cost: Higher cost due to the specialized treatment process
- Maintenance: Requires periodic maintenance to retain appearance and durability
- Color Variability: Possible color variations due to the heat treatment process
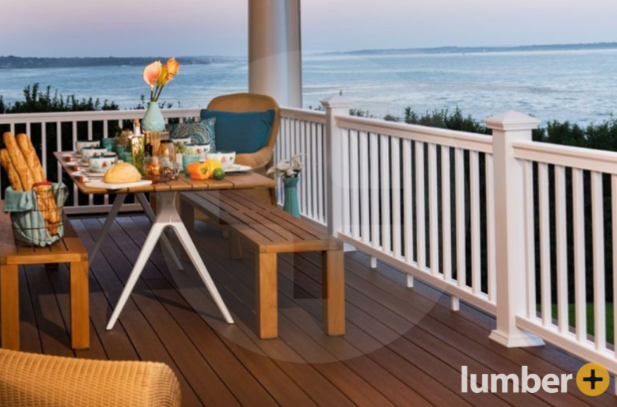
Hardwood Cladding
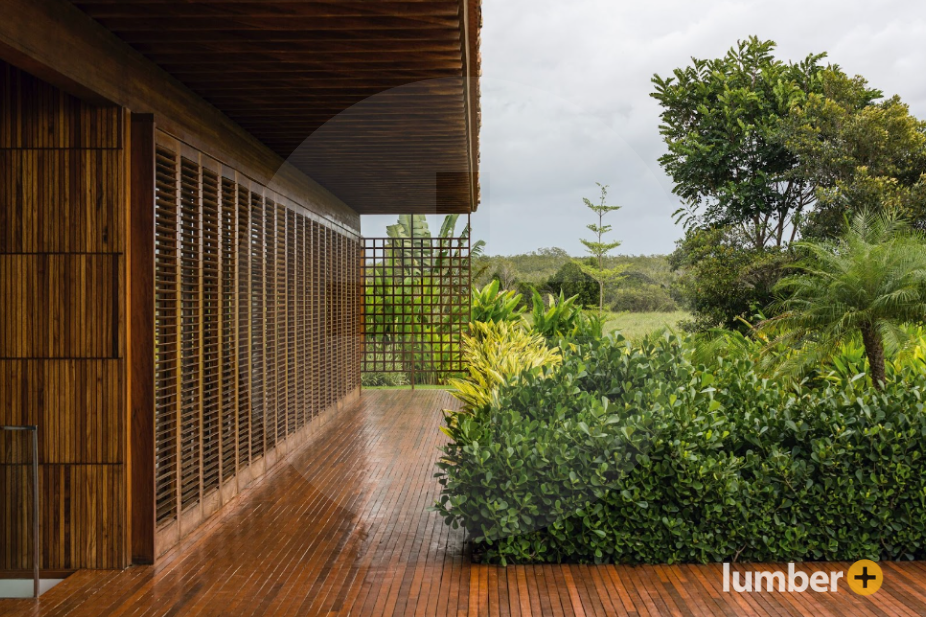
Extracted from mature trees in responsibly managed forests, hardwood cladding like Ipe, Cumaru, and Jatoba is known for its inherent beauty, structural integrity, and durability. It withstands severe weather conditions and provides a timeless appeal to blend traditional charm with modern resilience.
Advantages
- Aesthetic Quality: Rich, warm look that enhances high-end projects
- Durability: Excellent resistance to harsh environmental conditions
- Longevity: Can last decades with proper maintenance
Disadvantages
- Cost: Generally more expensive than other cladding options
- Maintenance: Requires regular sealing to prevent weathering
Composite Materials
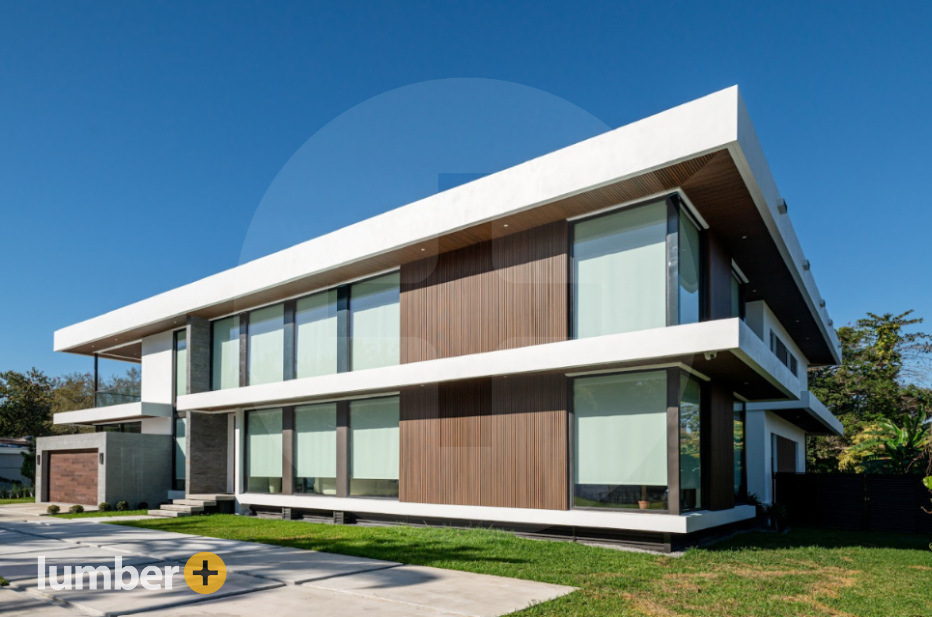
Composite cladding, made from a blend of plastic and wood fibers or fiberglass, offers versatility and strength in façade applications. These materials are designed to withstand UV exposure, temperature variations, and other environmental stresses and require less maintenance while mimicking the look of natural materials.
Advantages
- Low Maintenance: Requires minimal upkeep and is resistant to rot and decay
- Durability: Built to endure severe weather and environmental conditions
- Versatility: Available in finishes that replicate more expensive materials like hardwood and stone
Disadvantages
- Initial Cost: Can be expensive depending on the quality and type
- Thermal Expansion: Potential for expansion and contraction with temperature changes
Choosing the right cladding material involves considering durability, aesthetics, sustainability, and maintenance needs to ensure that it meets the specific requirements of your project. Each material offers distinct benefits and challenges, which makes it crucial to assess all aspects in order to find the best fit for your architectural objectives.
Essential Steps for Effective Rainscreen Cladding Installation
The successful installation of rainscreen cladding significantly hinges on adherence to proper techniques tailored specifically for this type of façade system. Here are streamlined steps that emphasize the unique considerations that are relevant to rainscreen cladding:
1. Site and Material Preparation
Before beginning, confirm that all cladding materials, tools, and site conditions are correctly prepared. Ensure that the layout of the cladding panels aligns with the architectural specifications in order to facilitate a smooth installation process.
2. Substructure Installation
The substructure, whether metal rails or wooden battens, forms the backbone of the cladding system. It’s imperative that this framework is robust and precisely aligned to support the cladding panels effectively, to ensure both structural integrity and aesthetic alignment.
3. Weather Barrier and Insulation Application
Install a high-quality, water-resistant, and breathable membrane over the substructure to serve as a critical barrier against moisture penetration. Following the membrane installation, place thermal insulation, if required, to optimize energy efficiency. Ensure that the insulation fits tightly within the system to eliminate thermal bridging.
4. Cladding Panel Attachment
Secure the cladding panels to the substructure using appropriate fixtures such as screws, nails, or specialized cladding clips. This step may vary depending on the material type and design specifics, such as the use of hidden fixing systems for aesthetic enhancement and streamlined appearances.
5. Detailing for Weatherproofing
Important attention must be given to corners, edges, and any structural openings. Install necessary flashings and trims to safeguard these vulnerable areas against water ingress. Seal all joints and intersections thoroughly to maintain the integrity of the cladding system.
6. Quality Control and Cleanup
After the installation is complete, conduct a thorough inspection to address any misalignments or gaps. Make necessary adjustments to ensure the cladding is correctly installed. Finish the process by cleaning the installed cladding and removing any installation debris to leave a neat and finished look.
Adhering to these steps while considering specific manufacturer guidelines and local building codes is essential. This ensures that the rainscreen cladding not only meets aesthetic expectations but also effectively performs as a protective façade.
Upgrade Your Exteriors with Lumber Plus Rainscreen Cladding Solutions
At Lumber Plus, we understand the importance of meeting and exceeding industry standards when it comes to rainscreen cladding solutions. Our range of cladding materials, from sustainable Thermowood® to resilient composites, ensures that every project we undertake is both aesthetically pleasing and built to last.
Contact us today to find out more