Resurfacing an aging deck with Trex composite decking can refresh its look while adding durability and sustainability benefits. Many homeowners seek to replace their worn wood boards with Trex, due to its low-maintenance qualities and resistance to common decking issues.
This article will guide you through the process, key steps, and practical tips to ensure your resurfaced deck is safe, beautiful, and long-lasting.
Trex Composite Decking: A Sustainable Choice
What Sets Trex Apart?
Trex decking combines recycled wood fibers and plastic, offering a sustainable alternative to traditional wood that’s both eco-friendly and easy to maintain. Made from 95% recycled materials, Trex decking provides an environmentally conscious solution that holds up well under various conditions. Its high resistance to fading, staining, and mold reduces the time and effort required for upkeep, making it a preferred choice for homeowners.
Advantages of Choosing Trex
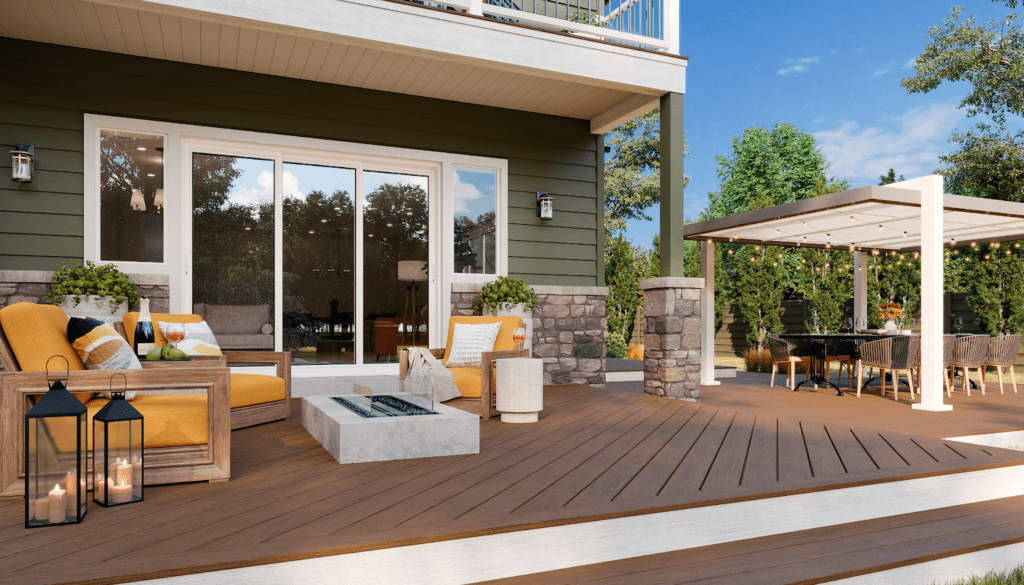
Trex’s composite construction resists moisture and UV rays, preventing rot, splintering, and warping, issues common with wood. Available in various colors and textures, Trex complements a wide range of styles, ensuring your deck upgrade adds both functionality and aesthetic value to your home.
Before starting a resurfacing project, it’s important to assess whether the existing deck structure can safely support new materials.
Assessing Your Deck’s Condition for Resurfacing

Before resurfacing, carefully evaluate your deck’s current condition to confirm that it can safely support new materials. A sound substructure is essential for a durable, long-lasting deck, making a thorough inspection the first step in any resurfacing project.
Structural Integrity Check
Inspect the joists, beams, and ledger boards for rot or decay. Test the wood’s firmness with a screwdriver to identify any weak spots that might need replacement. Your deck’s framing should meet local building codes, especially regarding load capacity and joist spacing, to ensure stability and longevity.
Identifying Issues
Check for any loose fasteners, warped boards, or sagging areas in the structure. Minor issues can be reinforced, but widespread damage may require more extensive repairs. This ensures that your resurfacing project won’t be undermined by an unstable foundation.
With the deck’s condition confirmed, the next step is to consider the pros and cons of installing Trex over existing deck boards.
Installing Trex Over Old Deck Boards: Pros and Cons
A common question is whether Trex can be installed over existing wood boards. Although it may seem convenient, it’s generally recommended to remove the old boards for the best results.
Why Removal is Preferred
Installing Trex directly over existing boards can trap moisture, potentially leading to mold and structural instability. Removing the old deck boards allows for a detailed inspection of the substructure and addresses any necessary repairs upfront. Starting with a clean, flat surface ensures a professional installation, free of uneven or warped areas.
Setting Up for Success
Working directly on the joists provides control over spacing and fastener placement, which ensures stability. By starting with a fresh foundation, you’ll achieve a polished finish that enhances the look and durability of your deck.
Once the decision to resurface with Trex is made, it’s time to follow a step-by-step approach for a successful installation.
How to Resurface Your Deck with Trex: Step-by-Step
With your deck assessed and old boards removed, you’re ready to begin the installation. Follow this step-by-step guide to achieve a well-built, long-lasting Trex deck.
Step 1: Preparation
Start by checking with local authorities for necessary permits and gathering your materials, including Trex decking, fasteners, a drill, pry bar, safety goggles, and gloves.
Step 2: Remove Old Deck Boards
Use a drill or crowbar to carefully remove the fasteners and lift each board. As you go, inspect the underlying structure, and dispose of old materials responsibly, considering recycling options if available.
Step 3: Inspect and Repair the Substructure
With old boards removed, inspect joists and beams for any remaining issues. Replace any compromised wood and ensure joists are spaced at 16 inches on center (OC) to align with Trex’s installation recommendations. Reinforce weak spots to prevent future issues once the new decking is installed.
Step 4: Installing Trex Decking
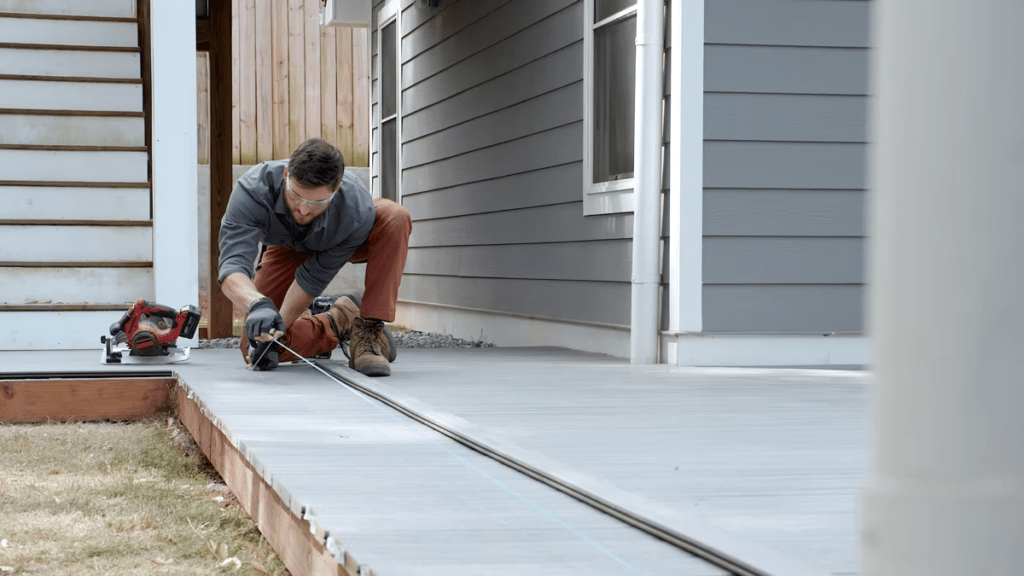
Position Trex boards over the joists, leaving slight gaps for expansion and drainage. Use hidden fasteners for a seamless look or color-matched screws if hidden options aren’t available. Confirm that boards are securely fastened and level.
Step 5: Final Touches
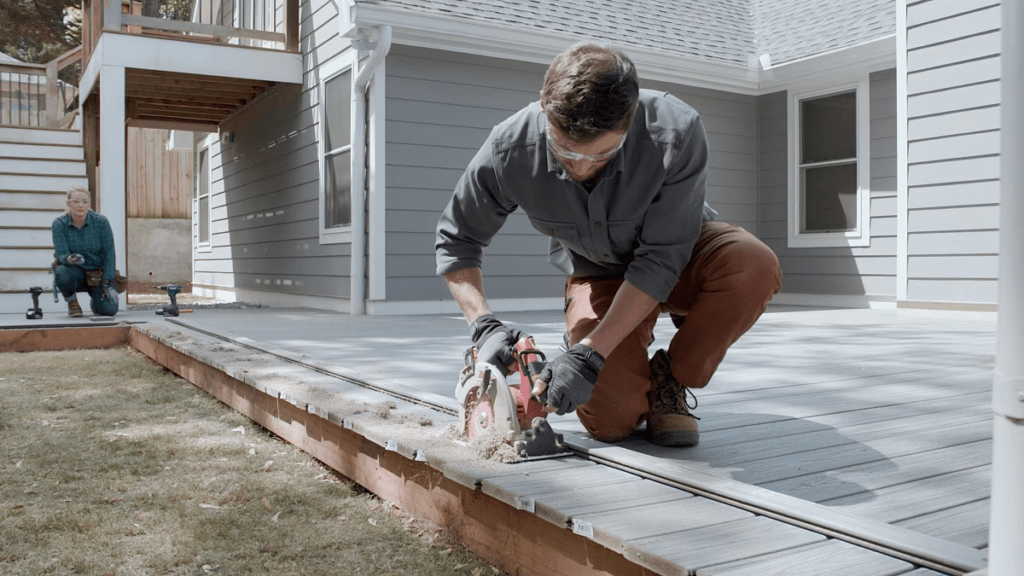
Once the main boards are in place, add Trex railing systems for both style and safety. Complete the project with fascia boards to cover the deck’s perimeter, giving it a polished, professional appearance.
After completing the installation steps, exploring the Trex product lines available at Lumber Plus can help in selecting the best option to suit any project’s style and budget.

Trex Product Line Options at Lumber Plus
Choosing the right Trex product line can make all the difference in creating a deck that suits your needs and style. Lumber Plus offers three popular Trex lines, each designed to provide unique benefits in both appearance and performance:
Trex Enhance®:
Perfect for budget-friendly projects, Trex Enhance offers two options—Basics and Naturals. Basics provides classic, solid colors, while Naturals adds multi-tonal shades that mimic real wood. This line is ideal for those who want the durability of composite decking without sacrificing aesthetic appeal.
Trex Select®:
Trex Select combines affordability with style, providing a smooth, simple look in a range of nature-inspired colors. With fade and stain resistance, it’s an excellent choice for families and high-traffic areas where durability is a must.
Trex Transcend®:
Known for its rich, vibrant colors and superior performance, Trex Transcend offers a luxurious look that resists fading, scratching, and mold. This line is perfect for homeowners seeking a premium, low-maintenance option that’s built to last in even the toughest climates.
Understanding the costs and potential savings of resurfacing with Trex can help in planning a budget-friendly, long-lasting deck upgrade.
Costs and Savings of Resurfacing with Trex
Resurfacing is often more cost-effective than a full rebuild, as it uses the existing substructure. However, several factors affect the total cost, including deck size, materials, and potential labor expenses.
Key Cost Factors
- Deck Size: Larger decks require more materials, affecting overall cost.
- Material Choice: Trex offers lines such as Trex Enhance®, Trex Transcend®, and Trex Select®, each with unique price points.
- Labor Costs: If hiring professionals, labor costs may vary by location and project complexity.
Long-Term Value
Trex’s low-maintenance features reduce ongoing costs for sealing, staining, and repairs. This contributes to a higher return on investment over time, making the initial expense worthwhile.
To keep a Trex deck looking its best, a few simple maintenance practices are essential for long-term durability and beauty.
Trex Deck Maintenance Tips
Maintaining Trex decking is simple, with just a few practices needed to keep it looking its best.
- Routine Cleaning Regularly rinse your deck with water or a gentle soap solution. Avoid harsh chemicals, which can damage the composite surface, opting instead for mild, composite-safe cleaners.
- Preventative Measures To avoid scratches, place mats under grills and planters, and avoid dragging heavy objects across the deck. Clean spills promptly to prevent staining, particularly from food and beverages.
- Annual Inspection Check your deck each year for any signs of wear or damage. Addressing small issues early prevents larger problems down the line, ensuring your Trex deck remains a focal point of your outdoor space.
Trust Lumber Plus for Your Decking Transformation

For those considering Trex, Lumber Plus offers an extensive selection of high-quality decking products suited for various project needs. As a trusted source for Trex, we provide materials that meet industry standards and support sustainable practices, including FSC-certified options for eco-conscious buyers. Whether you’re a DIY enthusiast or a professional, Lumber Plus has resources and materials to guide you at every step.
Contact us today for more information.


